A dowel pin press fit chart is an input map, not a universal hole-size answer. Read it together with the pin’s nominal diameter, fit class, receiving material, hole-making process, assembly direction and inspection method. The chart can organize the decision; it cannot replace the drawing or turn a damaged hole into an approved fit.
| Field | What it identifies | What it does not decide alone |
|---|---|---|
| Nominal pin diameter | The size designation of the selected pin | The final receiving-hole target for every material and fit |
| Fit class | The intended relationship between pin and hole | A universal press force or interchangeability rule |
| Hole target | The controlled result for the receiving feature | Whether the existing hole is straight, clean and aligned |
| Reamer or process | How the hole will be produced and finished | The approved inspection method or tool condition |
| Inspection evidence | How the production result will be accepted | Whether a different standard or coating can be substituted |
Before reading a chart, confirm that the part is a solid cylindrical locating pin and not a taper pin, threaded pin, slotted spring pin or coiled pin. Similar search terms can lead to different hole requirements. TG Eugene’s DIN 1 cylindrical locating-pin route is a product-specific reference; it should not be used to define every dowel or spring-pin fit.
Record the standard, nominal diameter, length, material condition, finish and any special shoulder or thread. If the drawing is unclear, stop the chart workflow and request a controlled interpretation. A precise calculation applied to the wrong pin family still produces the wrong hole.
The nominal pin size names the selected part. The receiving hole is a manufactured feature with its own process variation, surface condition, alignment and inspection result. These are related but not identical values. A chart that lists both must be read by its headings, units, standard and fit column rather than by copying the first number that looks close.
Check the host material and whether the hole passes through one part or multiple stacked parts. A press fit into a single plate has a different risk profile from a pin passing through two plates that must remain aligned. Burrs, coatings, temperature and surface damage can also change the actual result.
Keep a small revision record with the chart: source name, standard edition, units, fit column and date checked. This prevents a shop from using a screenshot with missing headings or from mixing an inch table with a metric drawing. If the chart does not state its assumptions, treat it as a research lead rather than an approval document.
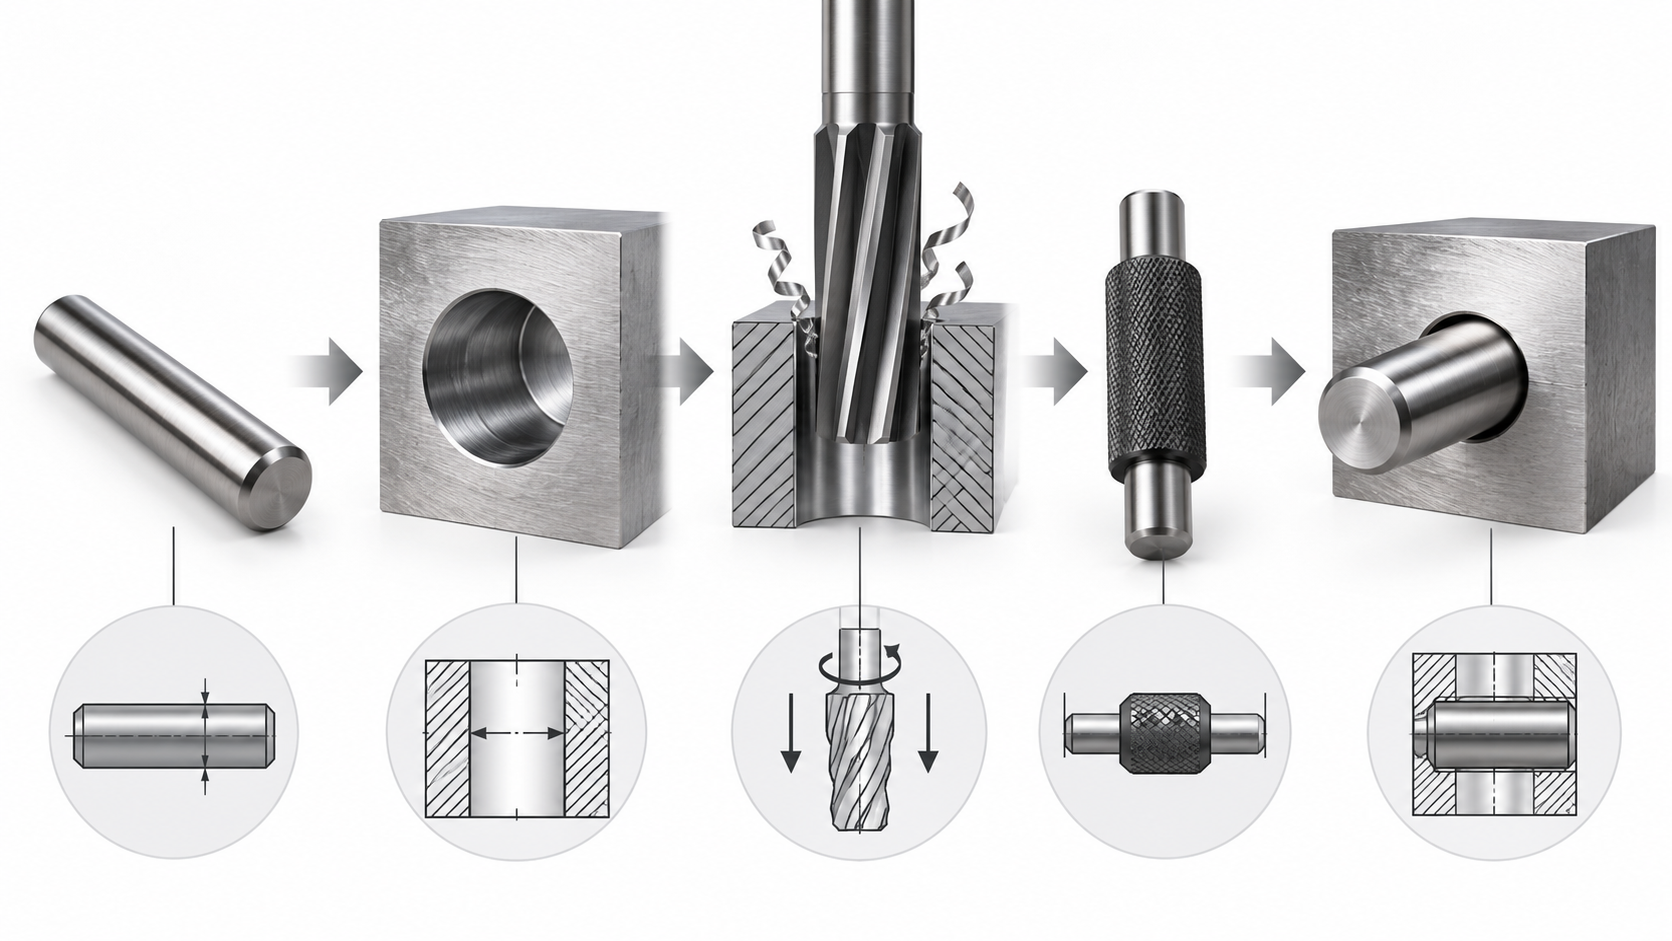
A dowel pin reamer size should follow the approved hole target and process plan. It is not selected from the pin’s nominal diameter alone. Confirm whether the hole will be drilled and reamed in place, machined before assembly, or finished through aligned parts. The tool must produce a straight, clean and inspectable feature for the selected fit.
Keep the tool path aligned with the intended joint. A reamer used at an angle can create a hole that accepts a pin but does not locate the parts correctly. Control burrs at the entry and exit, then clean the hole before measurement and assembly. Record tool identification and inspection results when the fit is critical.
Do not accept a press fit because the pin entered with a hammer or because a gauge passed one side of the hole. Verify the dimensions and alignment required by the drawing. Check insertion direction, seating depth, flushness, protrusion and whether the pin can be removed as planned. If the chart and the drawing disagree, the approved drawing revision needs resolution before production.
Keep the acceptance record with the part revision. If the hole process, coating or host material changes, reopen the fit review instead of carrying the old chart result forward.
The existing dowel pin sizes and fits guide can help organize terminology, while this page focuses on chart interpretation. For a fit controlled by a particular standard or customer drawing, use the exact source and revision rather than a generic web table.
Send the pin family and standard, nominal diameter and length, host material, hole process, target fit, drawing revision and inspection method. Add whether the assembly is through-hole or blind, whether removal is expected and what failure has been observed. TG Eugene can use this information in a drawing and fit review; a generic “what hole size?” request is not enough to approve a production value.
Not reliably. A valid value depends on the pin family, fit class, material, process, standard and inspection method. Treat the chart as a controlled input to the drawing, not as a universal number.
No. Reamer selection follows the approved hole target and the process. Different pin families, fit requirements and host materials can require different controls.