There is no safe universal drill size for roll pins. Select the exact pin family and standard first, read the approved receiving-hole range, then choose drilling or finishing operations that produce that condition. A loose pin measurement alone is not enough to release a production hole.
The correct question is not “what drill fits this roll pin?” It is “what hole condition does this specified pin require in this receiving material and joint?” That wording keeps the process tied to a controlled chart, drawing or supplier review.
| Input | Why it comes first | Record for review |
|---|---|---|
| Pin family | Slotted, coiled and solid pins do not share one hole rule | Family, standard and part reference |
| Nominal size and length | Sets the applicable chart row and engagement | Diameter, length and units |
| Receiving material | Influences machining and the installed condition | Material, thickness and existing bore status |
| Hole process | Drill, ream and deburr produce different process conditions | Process, tooling and inspection method |
| Fit and service | Connects the hole to the actual joint | Alignment, retention, access and replacement needs |
For a slotted spring pin, the free pin can be larger than the receiving-hole condition because the wall compresses during insertion. Use the approved chart or drawing for the exact row. Do not infer the drill diameter from a photograph, a caliper reading or an unrelated pin listing.
The same rule applies when replacing an existing pin. Identify the installed part and the joint before measuring the old hole. Wear, previous rework and burrs can make the old bore a poor reference for a replacement design.
Measure the loose part only to help identify it, not to replace the standard or drawing. A chart may distinguish nominal diameter, maximum free diameter and recommended hole range. Those values describe different states of the part and assembly.
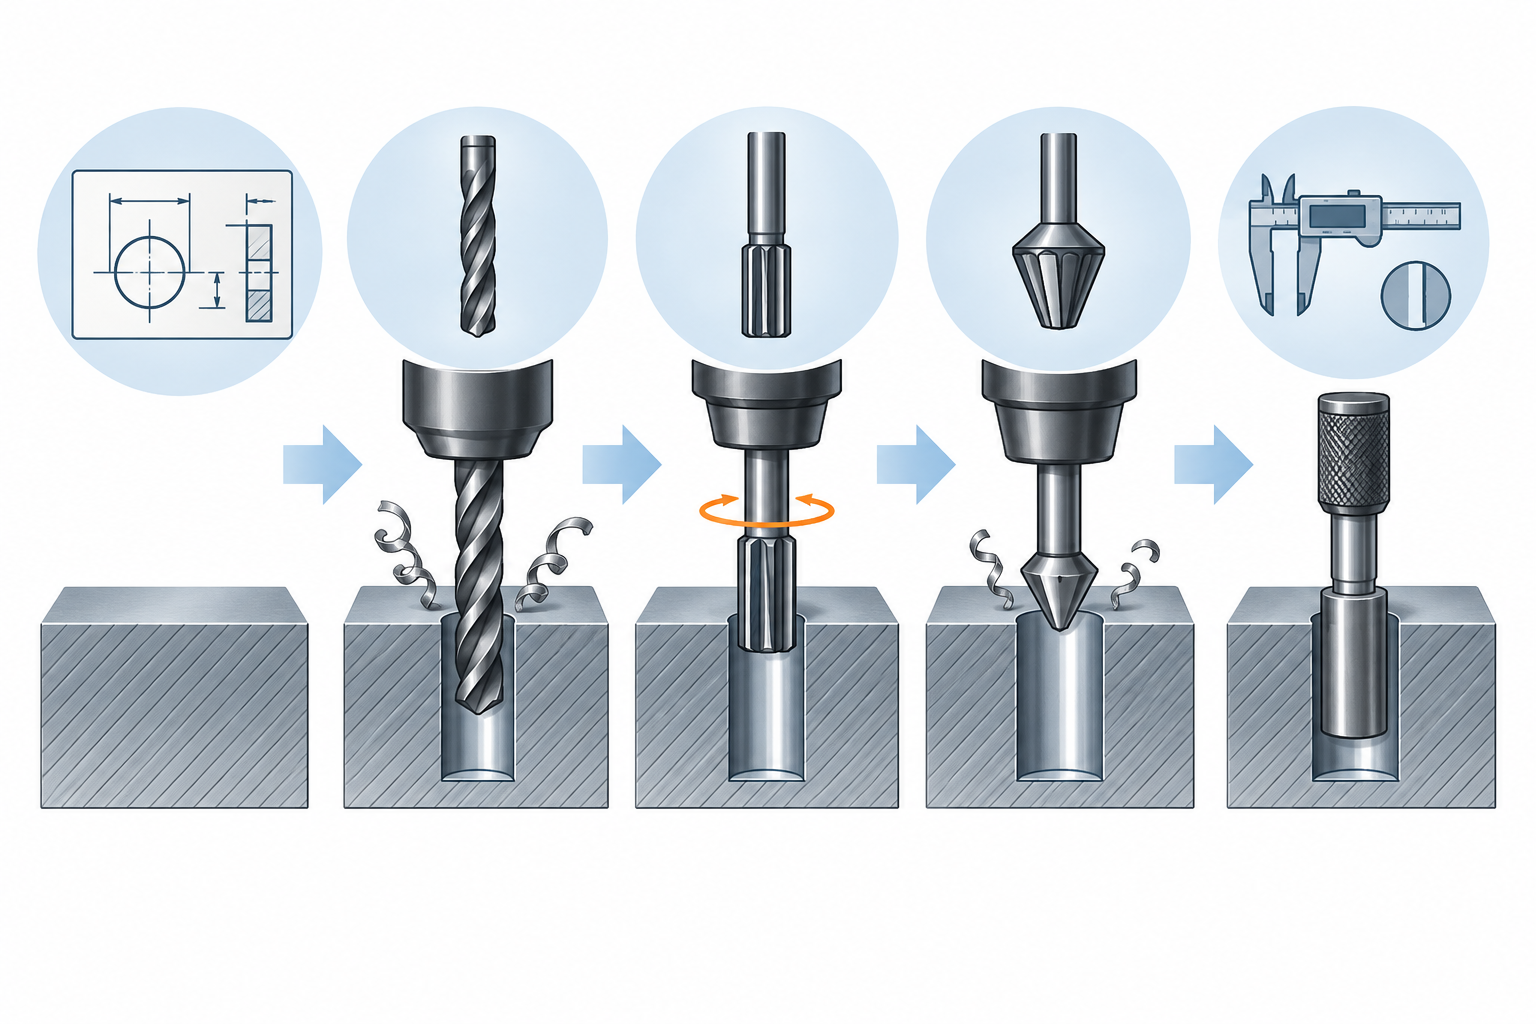
Reaming should not be used as a rescue operation for an uncontrolled or oversized hole. If the bore is already damaged or misaligned, record the condition and decide whether the part needs repair, a different pin or a replacement component.
Start the pin squarely and use the intended insertion method. Check that it enters without abnormal scraping, reaches the required engagement and does not deform the surrounding material. A pin that enters easily can still be wrong if the bore is too large or the joint is misaligned.
TG Eugene’s ISO 8752 slotted spring pin page provides a product-family route. For the related chart workflow, use the existing roll pin size and hole-fit guide and keep the selected standard with the RFQ.
Use the operation required by the selected standard, drawing and process. A reamer may be appropriate when a controlled finished bore is required, but it should not be used to guess or enlarge an unspecified hole.
Confirm the approved hole condition, inspect the finished bore and entry edge, then check controlled insertion, engagement, alignment and surrounding material. Record the result when the application requires traceability.